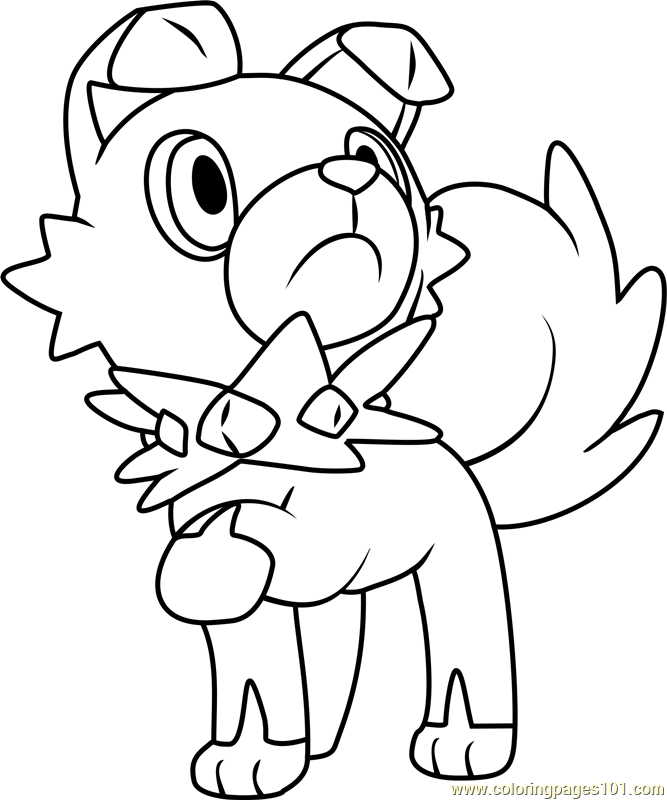
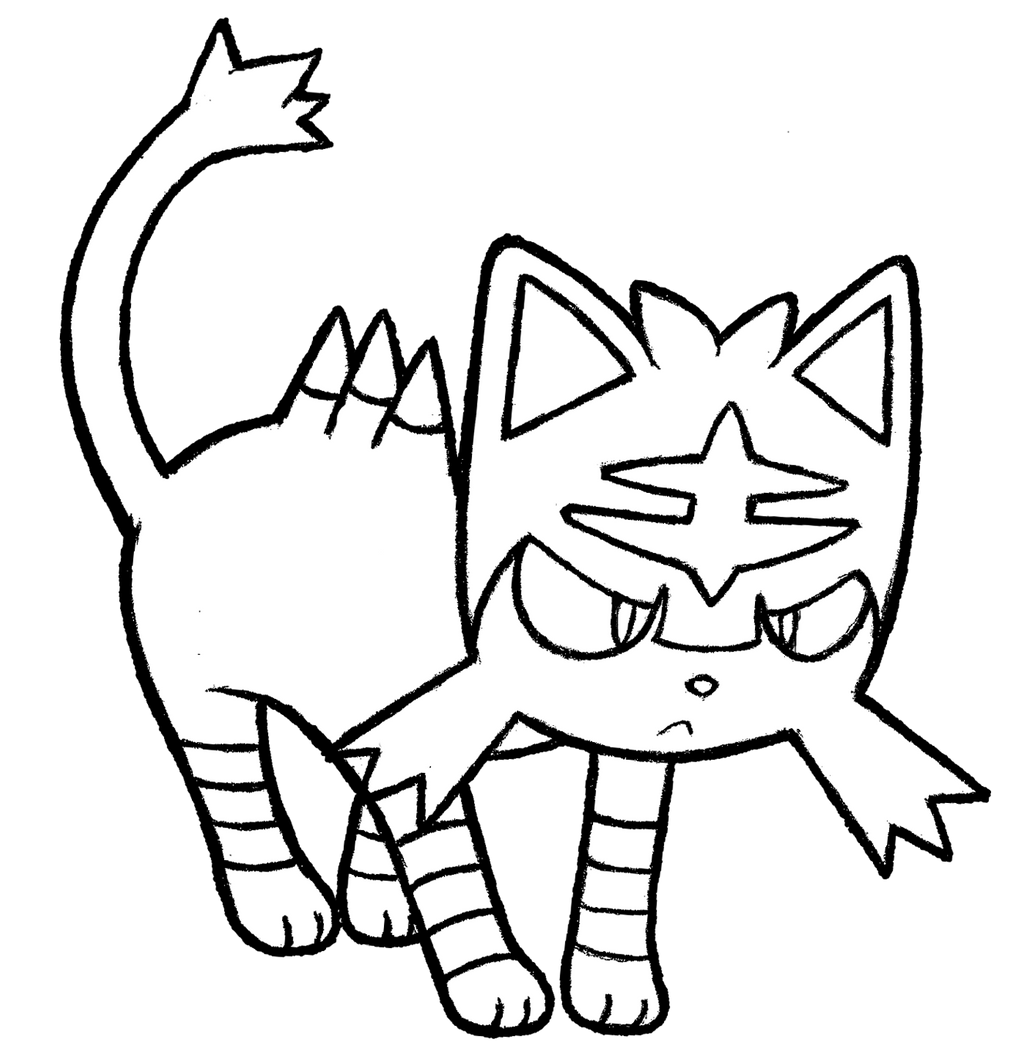
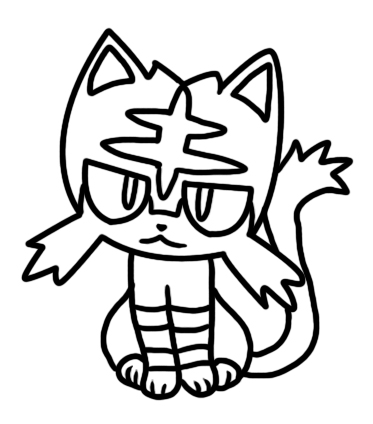
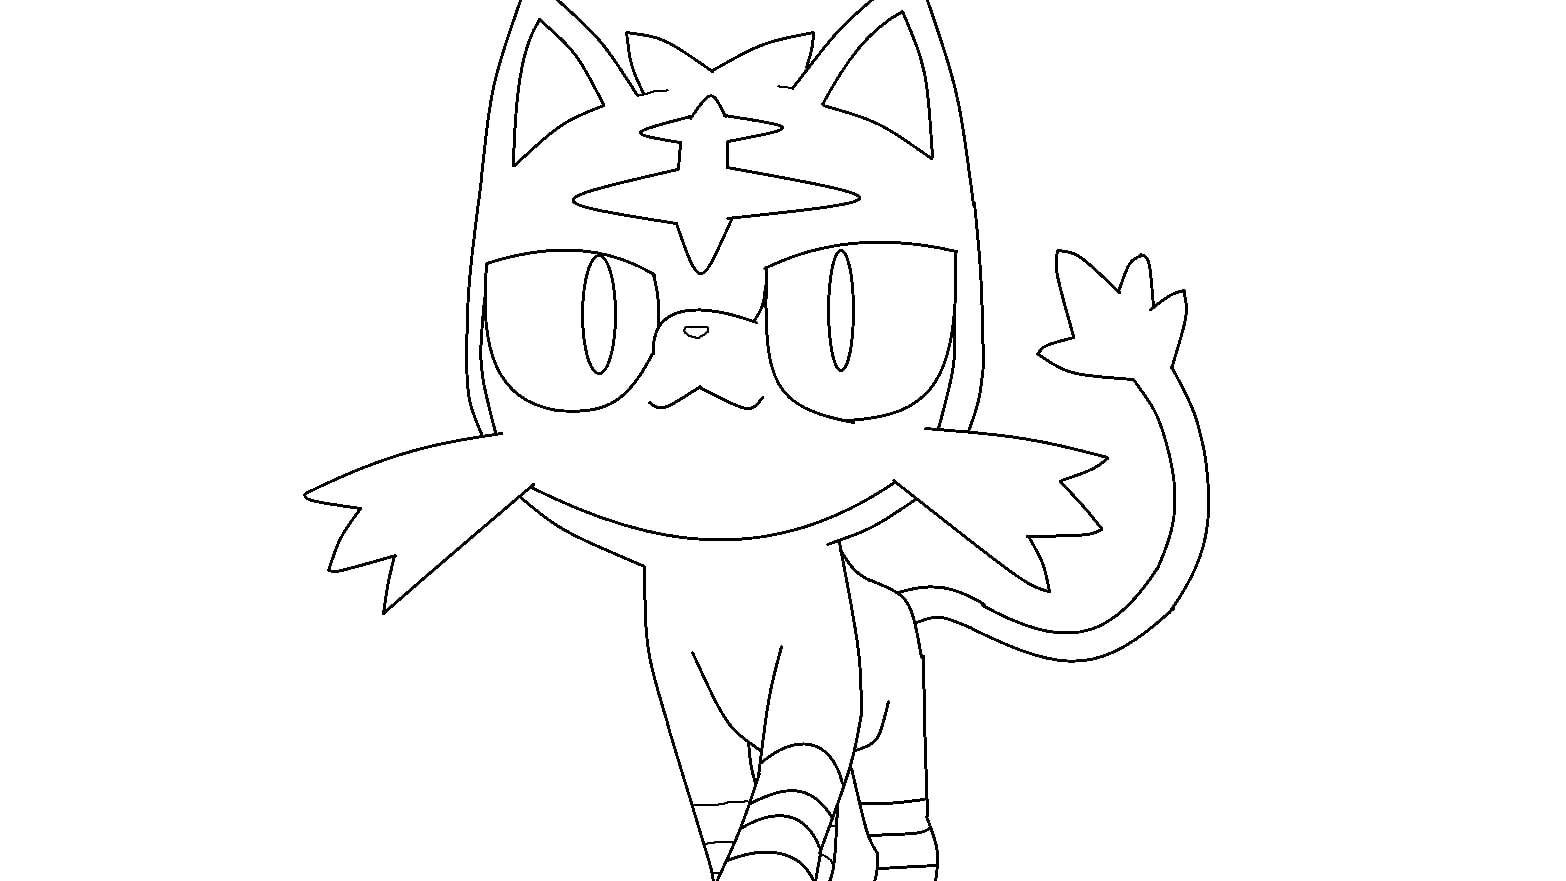
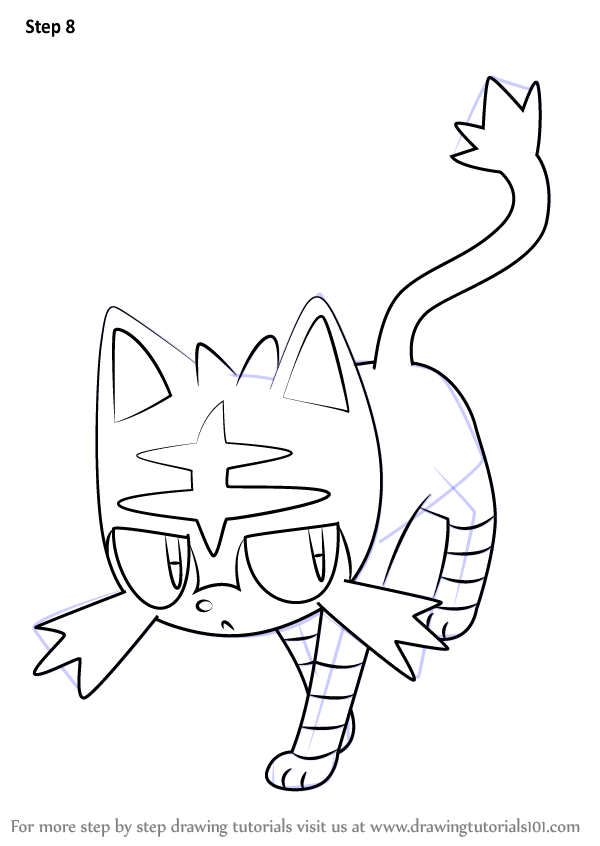
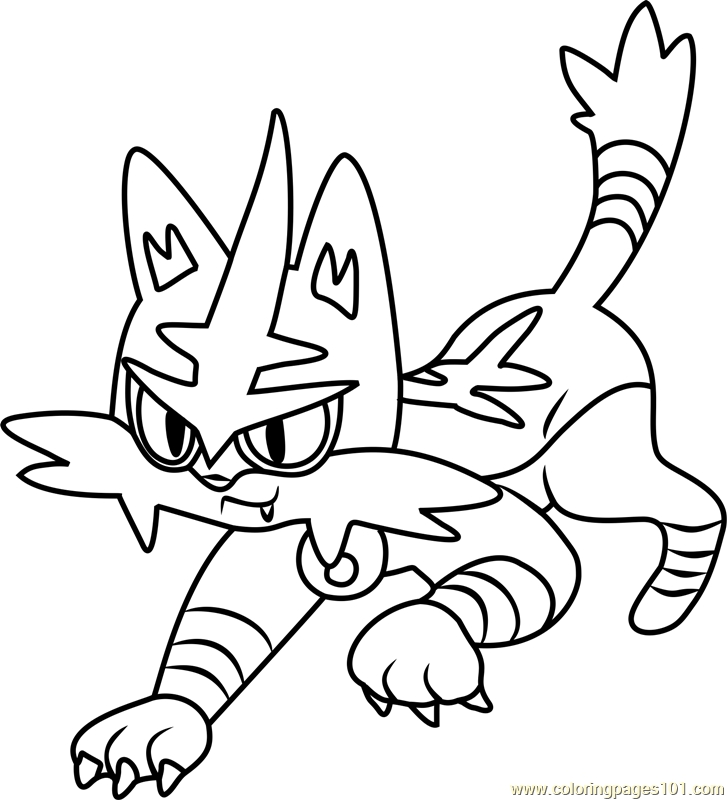
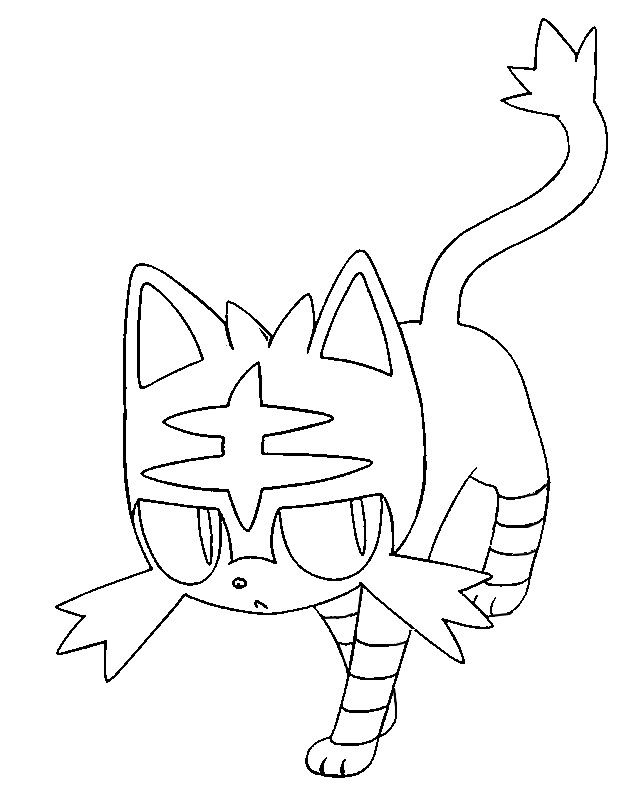
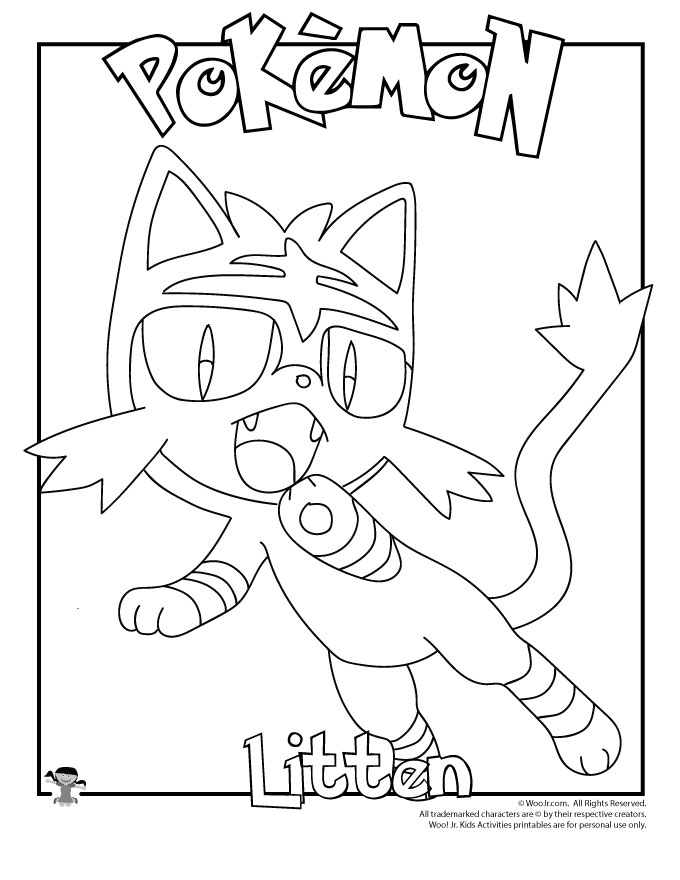
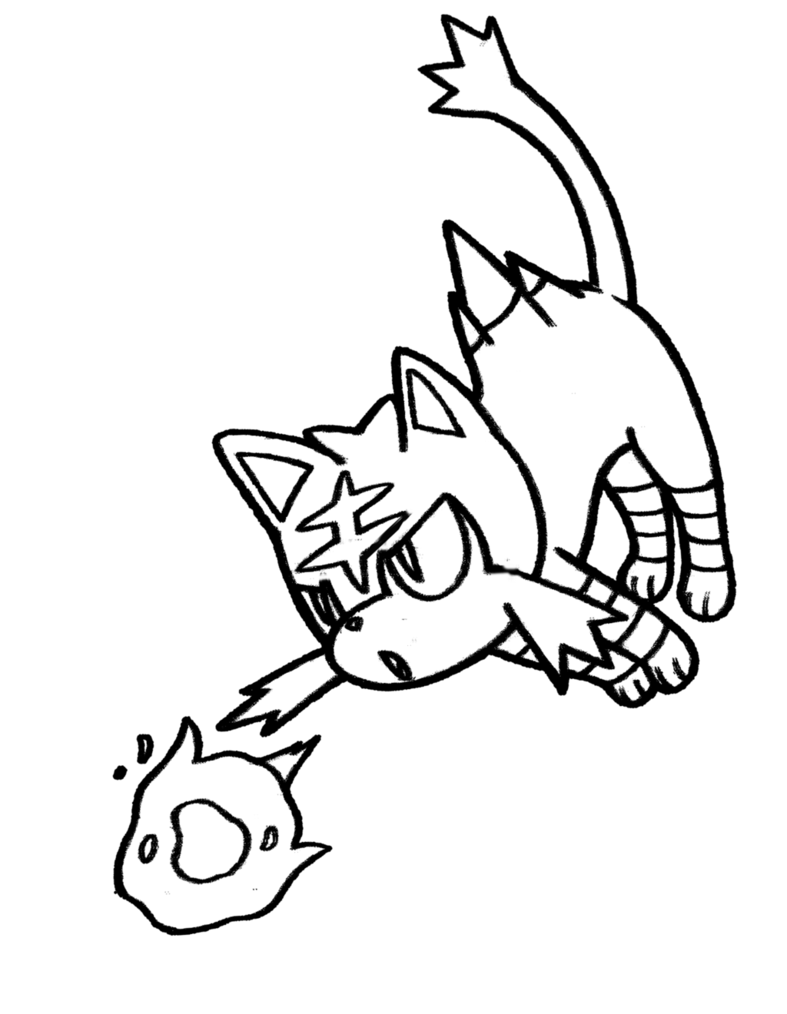
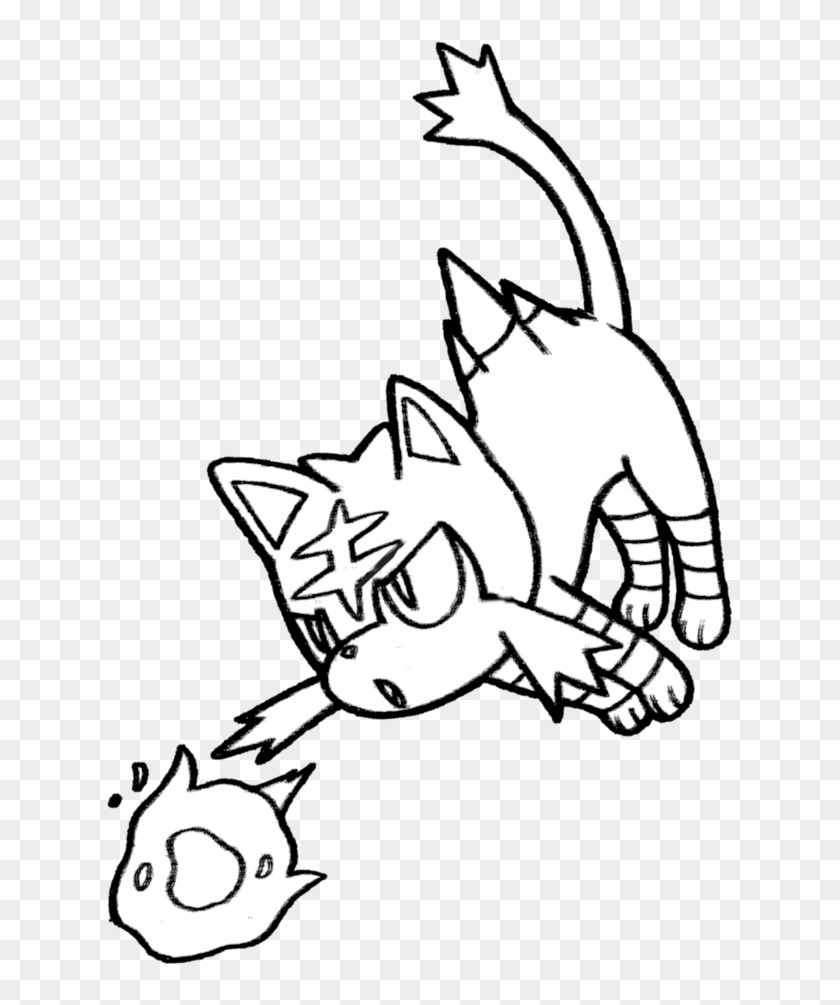
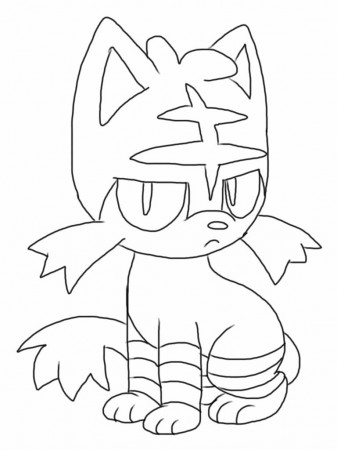
21 litten coloring page
litten coloring page
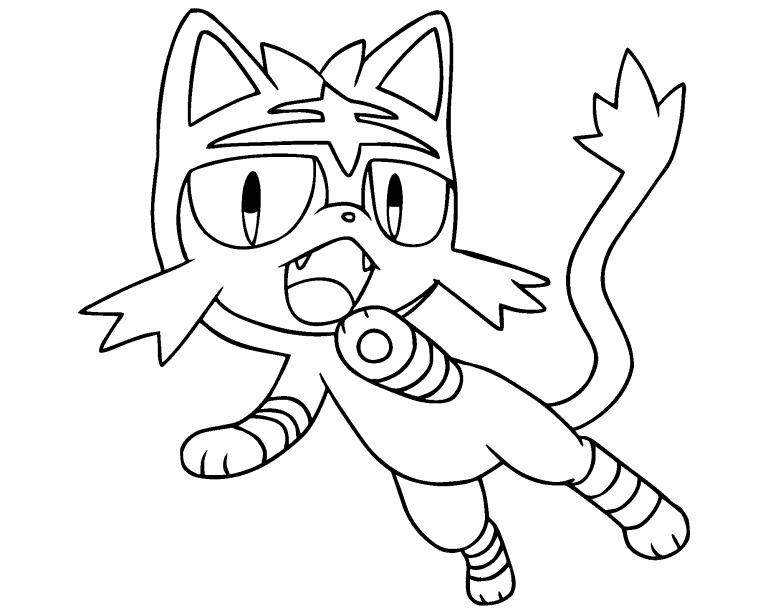
Litten coloring pages are a fun way for kids of all ages to develop creativity, focus, motor skills and color recognition. Popular Popular Popular Recommended … 0
Litten Coloring Pages. You can download free printable Litten coloring pages at Coloringonly.com. We have chosen the best Litten coloring pages … 1
Litten Coloring Page: Download Free Printable. Be careful trying to color in this grumpy Litten Pokémon along with Ash. Visit MyColoringDrawings.com and get more coloring drawings for kids and adults. Coloring Pages. Disney Printable Coloring Pages. Coloring Pages. 2
Litten Pokemon Coloring Page and Friend: Download Free Printable Disney Anime Mew, Pikachu, Blastoise, Venusaur and other Pokemon Animal Dinosaur, Puppy, Unicorn, Deer, Owl and more sheets Christmas Tree, Santa Claus and more coloring pages Coloring Pages Disney 100+ FREE Download & Printable Coloring Pages 3

Litten Pokemon Sun and Moon | Kids Coloring Page – Coloring Lesson – Free Printables and 4
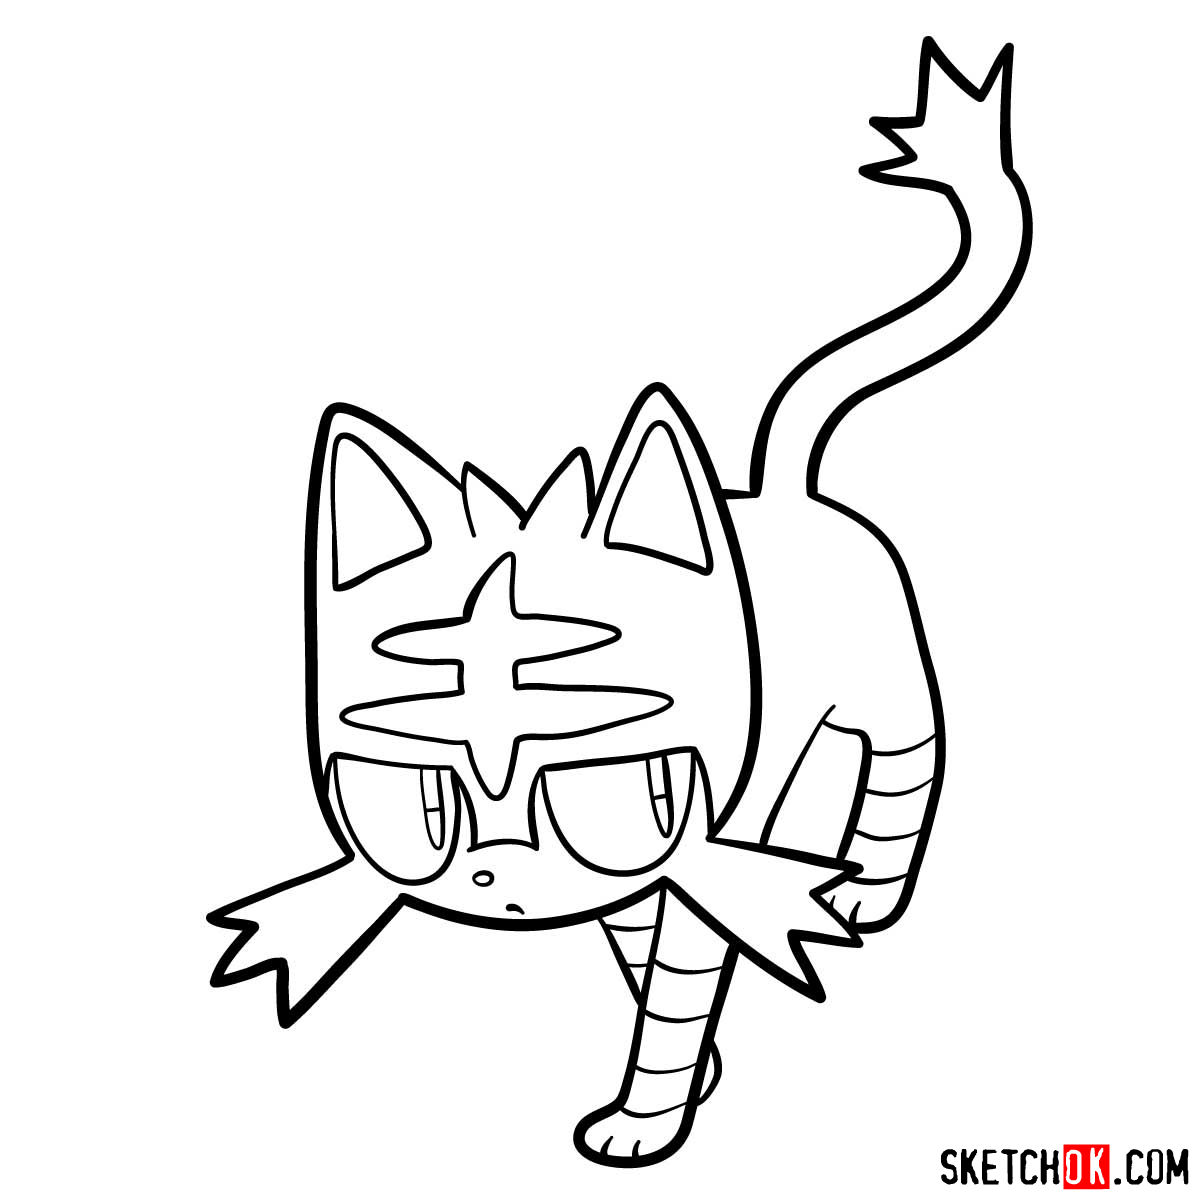
Litten Coloring Pages - Coloring Home 5

Ausmalbilder Litten des Pokemon 6

Litten Coloring Pages - Coloring Home 7

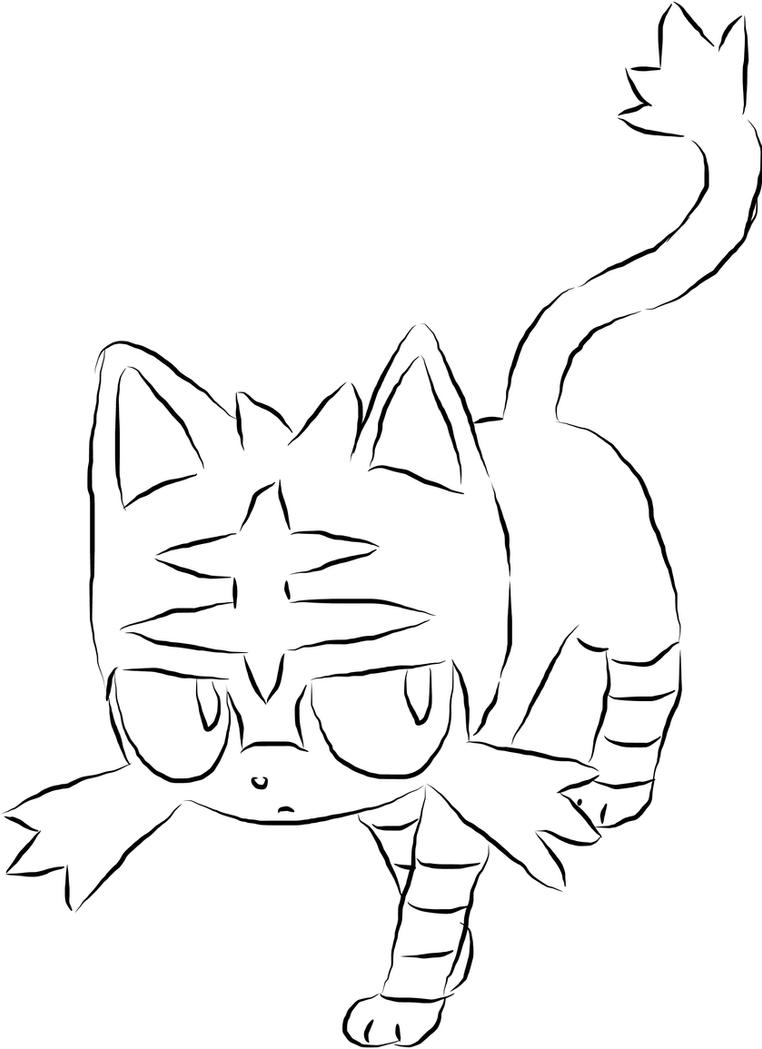
Litten lineart by Yumezaka on DeviantArt 8

Pin on Art plastique 9
Litten Coloring Pages at GetColorings.com | Free printable colorings pages to print and color 10
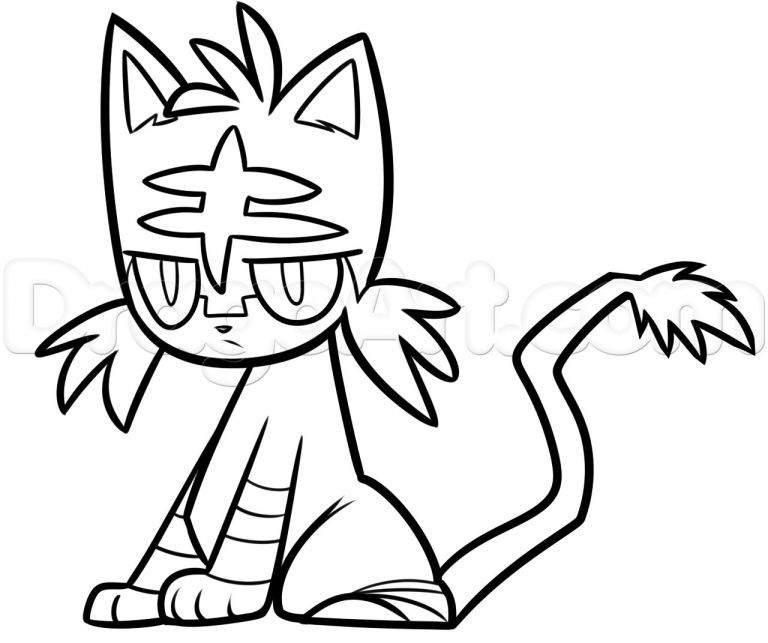
Litten Coloring Pages at GetDrawings | Free download 11
The best free Litten coloring page images. Download from 22 free coloring pages of Litten at 12
Litten sketch by Moon-Light2001 on DeviantArt 13

Litten sketch by Moon-Light2001 on DeviantArt 14
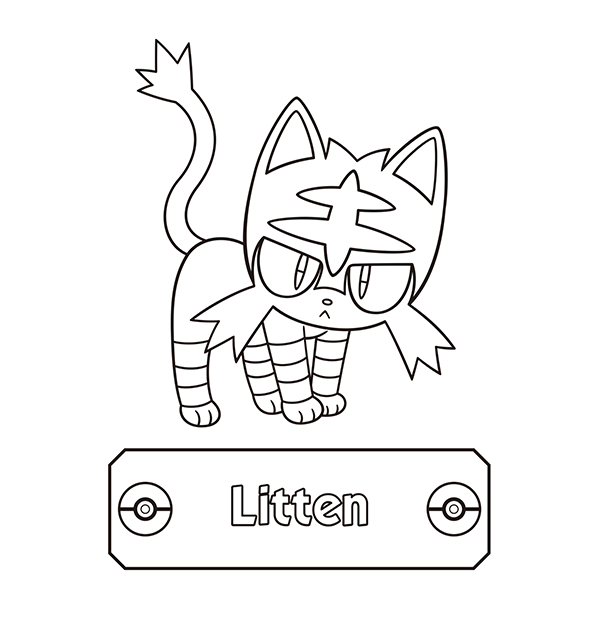
Pokemon Coloring Litten | BubaKids.com 15
Litten Coloring Pages - Coloring Home 16
Loudlyeccentric: 32 Pokemon Coloring Pages Litten 17
The best free Litten coloring page images. Download from 22 free coloring pages of Litten at 18

Shining Pokemon Sun Coloring | Hoopa - Mareanie | Free | Pokemon 19

28+ Collection of Litten Pokemon Coloring Pages | High quality, free | Coloring pages 20

Litten Pokemon Sun and Moon | Kids Coloring Page – Coloring Lesson – Free Printables and 21
Litten Coloring Pages - Coloring Home 22
Litten Coloring Pages at GetColorings.com | Free printable colorings pages to print and color 23

Pokemon Coloring Litten – From the thousands of photographs online about pokemon coloring litten 24

Litten From Pokemon Coloring Coloring Pages 25

35 New Photos Of Pokemon Coloring Page Litten - Coloring Pages 26
Litten Coloring Pages - Coloring Home 27

35 New Photos Of Pokemon Coloring Page Litten - Coloring Pages 28
Pokemon Coloring Litten - Hd Football 29
Litten Pokemon Sun And Moon Coloring Page - Free Pokémon Sun And Moon Coloring Pages 30

Grenousse kleurplaat #pokemonxandykleurplaten #pokemonxenykleurplaten http://www.pokemon 31

Pokemon Litten Coloring Pages| Learn Colors Pokemon | Paint Litten Pokem... 32
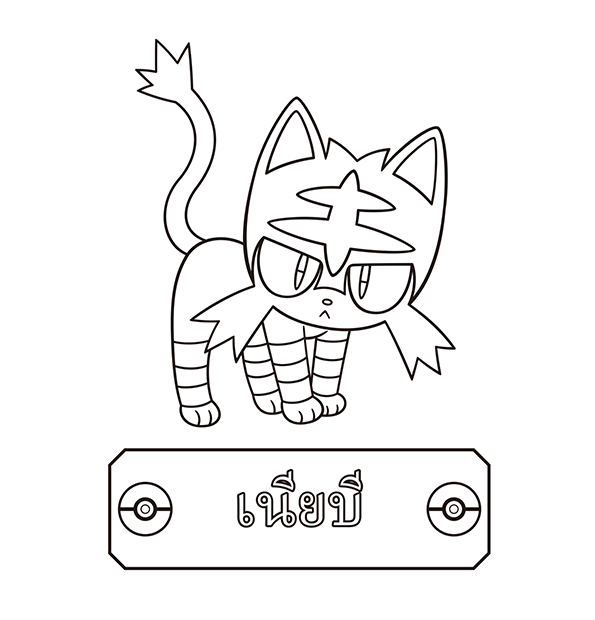
Pokémon Coloring Page | The official Pokémon Website in Thailand 33

Pin on pokemon 34
hey everyone and welcome to the club, today i'll be showing you how to draw, incineroar from pokemon, [Music], let's get started at the top center of, our page with a point, from this point i'm just going to come, down on either side with an angled line, now from here we're going to draw two, straight angle lines going up and out, towards the edge of the brow starting on, the left side we're going to go up, and out, go back to the right side and go up and, up towards the right, now take these two points and come in, with an angle line aiming towards center, but i leave a gap in the middle here, starting on the left, come in to right about there we'll do, the same thing on the right so let's, step over to the right side, angle out towards the tip, i'm going to leave that for now let's, move down and draw on the muzzle from, this bottom point on the left i'm going, to curve down and out towards the left, go to the right side and curve down and, out towards the right, i'm just going to round out the edge of, the muzzle starting on the left and, round this out and come in, we'll do the same thing on the right, now let's connect those two points with, a curve coming down in the middle, now in the bottom corners i want to add, two large fingers pointing upwards, starting on the corner here we're going, to go up in an angle, and then come back down and do the same, thing on the right going up, and then back down, now i'm going to draw a curve from this, bottom corner of this fang we're going, to curve up in behind the right fang up, towards this corner, let's go up and tuck that in behind that, fang, continue on the right side, now i want to add some sharp teeth along, the inside here starting from the bottom, corner here we're going to go up, and then we'll taper that back down, we're going to repeat this all the way, across, we'll add one more, [Music], now right in the center of the muzzle, i'm going to add the nodes so we start, with the curve from left to right going, up, and then down now take these ends and, curve down towards the center point, [Music], from the bottom of the nose and draw a, straight line coming down towards the, top of the mouth, now i'm going to tuck the eyes in behind, the brow and the muzzle so we're going, to start on the left side at the top, here we're going to curve around, and then pull that in on top of the, muzzle, do the same thing on the right side, i'm going to add two small half holes, underneath the brow starting on the left, side we're going to curve down towards, the muzzle and then back up, and do the same thing on the right, and draw two smaller ovals along the, center, starting from the top and we'll fill, those in black, [Music], now we're going to move out and draw on, the side of the head tucked in, underneath the brow so beside the left, eye we're going to move over, curve out, in behind the brow now we're going to, start to pull that up and in we do the, same thing on the right so let's line up, the top of the ear occurring out, in behind the brow, and then continue alongside the eye, from the top of the ear we're going to, draw two short angle lines coming down, and in, [Music], now let's connect those two points with, a curve going up in the center, let's finish off the detail in the, center of the forehead from these two, points we're gonna angle up and in with, a short line, now we're gonna draw two points facing, outward from the left side we're gonna, angle up and out towards the left, and then the right now we're going to, taper this back in, [Music], now we're going to finish off this line, going up towards the top of the head so, starting on the left we're going to go, up in an angle, and then on the right, now let's move to the outside and draw, on the large main so we're going to, start on the side of the head on the, left side we're going to curve up and, out towards the left we're going to line, this up on the right side and do the, same thing, now we're going to hook this back down, so in taper this down, now i'm going to add a larger one along, the side, going up, and out, [Music], now we're going to bring this back in, towards the head, so tapering it down, and then into right about there, [Music], now from here we'll draw two short lines, going out, a little horizontal line going out, now we're going to curve and taper this, back in aiming towards the mouth, [Music], right about there, on both sides, now we draw two points aiming down in an, angle so from the left side we're going, to come down towards the left, and then on the right, i'm going to pull this up towards the, corner of the mouth but i want to leave, a little gap, so with a straight line coming up, now i'm going to connect those two, points with the curve for the lower part, of the chin just coming down below the, mouth, and then back up on the right, [Music], now that we've got the head let's work, our way out towards the shoulders from, this little point right here i'm going, to curve down and out towards the left, you'll do the same thing on the right, now i'm going to overlap the large, shoulder blades so from this point i'm, going to step all the way down right, here draw a point, from this point i'm going to go up in, towards the line and curve it out, towards the left going up i'm going to, bend it over towards the left let's do, the same thing on the right stepping, down, draw a point, go up, and now we'll just curve over that line, out towards the right, now we're going to bring this line back, in with a short line we're going to, taper this with a slight curve, coming down now we're going to go out, with a longer line just curving it out, towards the left, and then the right now we're going to, connect these two points with the bottom, with the curve going the opposite, direction, starting at the top, curve down and then, [Music], in now from the bottom corner of the, shoulder blades we're going to taper the, body in towards the hips so they're, going to come in towards each other, starting on the left side, and curve in, and then just pull it down to right, about there we'll do the same thing on, the right one line this up, along the bottom, [Music], now we're going to draw on the top edge, of the belt so starting on the left side, we're going to hook a short line coming, in, on the right side we're going to do the, same thing now we don't taper this back, down, coming down to the same height as we, have on the outside of the hip, now we do another one starting on the, left will curve up and in, do the same thing on the right, and we'll taper that back down and, in now the center piece almost looks, like a flame so we're starting left side, start by going up and over towards the, right now at the center we're going to, go straight up, we're going to connect those two points, with a curve going out and then down, now let's move to the outside and draw, on the side of the belt so lined up with, these points on the side of the body, we're going to curve out, in, out and then back in, let's take that flip it over on the, right side so we're going to line this, up start by going out, go in, out, and then into the same height, now from the bottom corners i just want, to curve these up and in, [Music], we're gonna draw another point coming in, so from here on the left we're gonna, hook it inwards towards the middle, [Music], now we're gonna taper that back up, now let's connect those two points with, a curve coming down in the middle and, then back up on the right, [Music], now i just want to add a little flame, detail in the center here so right in, the middle we step down draw a point, from this point we're going to curve out, and down towards the left, we're going to round out the bottom and, then come all the way up with a curve, towards the top, now we're going to add a detail along, the center of the body so right, underneath the chin right here we're, going to draw a point right in the, middle, we're going to come down with two angle, lines one coming to the left, and then one to the right now from here, we want to curve and round out the, bottom of this line so unless i'm going, to curve out, and then up towards the left, go up, and out towards the right, now we're going to taper these lines, back in towards the center i'm going to, leave a gap in the middle, to right about there, [Music], now draw two short lines coming, down now we do that again with a shorter, curve, going out to right about there, same thing on the right and again we're, going to taper this back in, [Music], now we're just going to pull two, straight lines in behind the belt, let's add the collar bone just on either, side so from that point we're going to, step up draw two angled lines coming in, towards each other now we're going to, follow the curve of the chin going out, starting from the left, curve out, and then the same thing on the right, let's continue working our way down the, legs so in the center going to step down, towards the lower torso and draw a curve, from left to right going up, and then down, now on the left side i want to step in, slightly to create an overlap curve out, towards the left, and then down towards the ankle we're, going to do the same thing on the right, stepping in, coming out, and then down, now at the bottom we're just gonna round, out the ankle, from the left side and curve down and, then back up to the outside of the leg, now from here we're going to curve the, outside leg underneath that point right, here, starting left side we're going to curve, out, and then pull that in towards that, bottom point, do the same thing on the right starting, from the hip, and curve down towards the right, from the inside of the ankle we're going, to draw a curve for the heel coming in, and then down, [Music], now we're going to round out the bottom, of the foot so from heel to toe, curve down in the middle, and then back up towards the toe, now let's square off the front of the, foot we're just going to curve this out, to the top, now we're going to pull this over the, top of the foot so starting on the left, side will curve, in, do the same thing on the right side, now from the outside of the ankle it's, going to curve out towards the top of, the foot so there's a little overlap, here, [Music], now we're going to separate out the toes, from the left side with step oh we're, going to follow that same curve on the, inside for one toe, we'll step over and draw that same curve, let's do the opposite on the right, stepping over, it's going to follow that same curve of, the outside of the foot step in and draw, that one more time, let's add some stripes in the legs so, from this angle we're going to step up, from left to right we're going to curve, down and then up, do the same thing on the right side now, we're going to step up about halfway, along the leg and do the same thing, [Music], we're going to move up one more time and, draw that same curve, [Music], now let's move back up and draw on the, arms so i'm gonna have the arms bent, with the palms facing upward so from, this point in the blade i'm gonna step, up, curve out, and then back in we'll do the same thing, on the right side, coming out, and then back into the same height, now from the inside of the elbow i'm, going to curl over towards the wrist, coming down and out towards the left, we'll do the same thing on the right, side, now let's just round out the wrist, from this point i'm going to curve in, and then down with a short curve we're, going to do the same thing on the right, coming in, and then down now from here going to, round out in behind the body for the, lower part of the arm, going in, and then up just above the belt do the, same thing on the right, i'm going to go back to the left side at, the top of the wrist here i'm drawing, the thumb, so from here we're going to go up, and curl over towards the left, and then down towards the tip of the, claw, now if you guys want to taper it back, and we draw the socket i'm going to, curve up and out towards the left now, we're drawing the inside edge of the, thumb so from this point step out, curve down and in now right here i just, want to curve in the opposite direction, just coming down we're gonna do the same, thing on the right side, start from the top of the wrist go up, round out the thumb, and come down towards the tip, we're going to taper that back in, and then we'll round out, the claw socket, now we're going to step out, curve in, and we'll change directions we'll come, down, now let's move to the bottom of the, wrist and draw on the fingers so from, this point i'm going to curve down the, hand, and i'm going to loop this around, curving back, inwards to right about there, now from here i'm just going to hook, this back with a short curve now i'm, just going to draw in a curve for the, socket of the claw going back up, now right beside the claw here i'm just, going to hook this up, [Music], we're going to draw three more fingers, along the side here so on the side of, this claw we come around, and then in we're gonna do the same, thing we're gonna taper this back down, and then curve in the opposite direction, towards the outside of the finger, now about halfway along that finger i'm, just going to curve it down behind that, first claw let's do that two more times, stepping up, [Music], curve around, we'll taper this back, and we'll curve in the opposite, direction towards the top of the finger, now halfway along the clock we're just, going to hook it down behind that second, finger now one more time, the top will curve around, then in, and then just round out the socket, now right here we're going to curve in, behind that finger now i want to finish, off the top of the hand, from this point of the thumb i'm going, to curve down, and then just tuck that in behind the, fingers, i'm going to add a circle right in the, middle of the palm starting from the top, go all the way around, and back to the top, [Music], let's take that and flip it over on the, right side so i'm going to start the, bottom corner of the wrist, curve down, i'm just going to loop the first finger, back around and in, from here i'm just going to taper it, back down, i'm going to curve in the opposite, direction towards the outside of the, finger, now right here i'm just going to curve, down and then in let's stack three more, fingers along here so on the side of, this finger i'm going to curve around, and in, taper that back, and then close it off, halfway up the claw will hook down in, behind the first finger, [Music], and one final time, and then from the bottom of the thumb, will curve down and then in behind the, fingers we're going to add that circle, in the palm starting from the top, now we go back to the arms and add in, some stripes so we're going to start, with the wrist first we're going to take, that same curve stepping in, and draw that once, and stepping in again we'll draw that, twice, let's do the same thing on the right, from the wrist we'll step up, draw one curve, and then two, [Music], now from the inside of the elbow we're, going to curve across towards the inside, of the arm, [Music], now we're going to add one more stripe, in the upper arm but we're going to, curve in the opposite direction stepping, up, starting on the left side will curve, down, then in behind the body, step up, and then draw that same curve we'll do, the same thing on the right side, [Music], now the last thing i'm going to do is, add the tail on the left side here so we, start right on the hip, curve out towards the hand, and then come down i'm going to go back, towards the hip step down i'm going to, tape with the tail coming downwards so, it gets a little bit thicker, as we come down and connect those two, points with a curve, [Music], let's add some spikes along the base of, the tail, from this corner i'm gonna go out, on the inside we'll go out now we're, gonna connect these two ends with a, zigzag pattern going across, coming down and in, we'll draw another point, [Music], come in towards the middle, i'm going to add one final point, now i'm going to add the tip of the tail, underneath the spikes so from this curve, we step down, curve down in the middle, now we're going to pull that back up on, the right side, let's add one stripe in the center of, the tail starting from the top curve, down, and then back in we'll step up draw that, one more time, and that's pretty much it there we have, it there's incineroar from pokemon i, hope you enjoyed today's lesson make, sure you subscribe and send me your, request in the comments below thanks for, watching and we'll see you again soon, [Music], [Laughter], you
Reddit Images 69
Just finished another page of the coloring book. Page 6… I believe 0
page coloring for ch 171. 1
Konomi coloring by @Shazayumart (chapter 93 cover page) 2
![[No Spoilers] Digitally colored the cover page (not the actual cover of the book itself) of the Life Is Strange coloring book](https://i.redd.it/cdncsa6chuu91.jpg)
[No Spoilers] Digitally colored the cover page (not the actual cover of the book itself) of the Life Is Strange coloring book 3
![[Other] who is this villain on my son’s coloring page? It’s driving me nuts!](https://i.redd.it/ihia4i1szvi91.jpg)
[Other] who is this villain on my son’s coloring page? It’s driving me nuts! 4

First page of the coloring book done! Any thoughts? 5
Randomly coloring one page of my coloring book 6
{Artwork} Finally finished working on the coloring of this mask-less Spider-Gwen. It's about 98% pencils, with 2% of it in gel pen. It's a page from Marvel's WOMEN OF POWER coloring book, w/original art by Emanuela Lupacchino from Spider-Gwen Vol 2 #6 (Cover B Variant). 7
My coloring of the cover page for Ch. 159 8

This took SO many hours and it isn't even technically the first page... Maybe I should have picked something easier for my first time trying adult coloring, but I've always been ambitious. 9
Colored a page in my Horror Coloring Book (with colored pencils)! Available on Amazon + 5 Free Downloadable Coloring Pages 💀 See links in comments, thank you! 10
I colored an Empires-themed page from the latest Hermits and Friends Coloring Book 11
coloring page! 12
HEAT 2 - coloring page 13
Cool Platinum Age gem - The Story Of Just Kids (McLoughlin Bros. 1932). This is a 20 page mixture of text and prose illustrated in 3 colors. Just Kids was a kid humor strip that ran from 1923 to 1950. It was popular enough to inspire a comic book, a coloring book and a fistful of Big Little Books. 14

I TRIED to colour this Melanie Martinez coloring book page.I'll do more of these. 15
,


Comments
Post a Comment