57 lord garmadon coloring page
lord garmadon coloring page

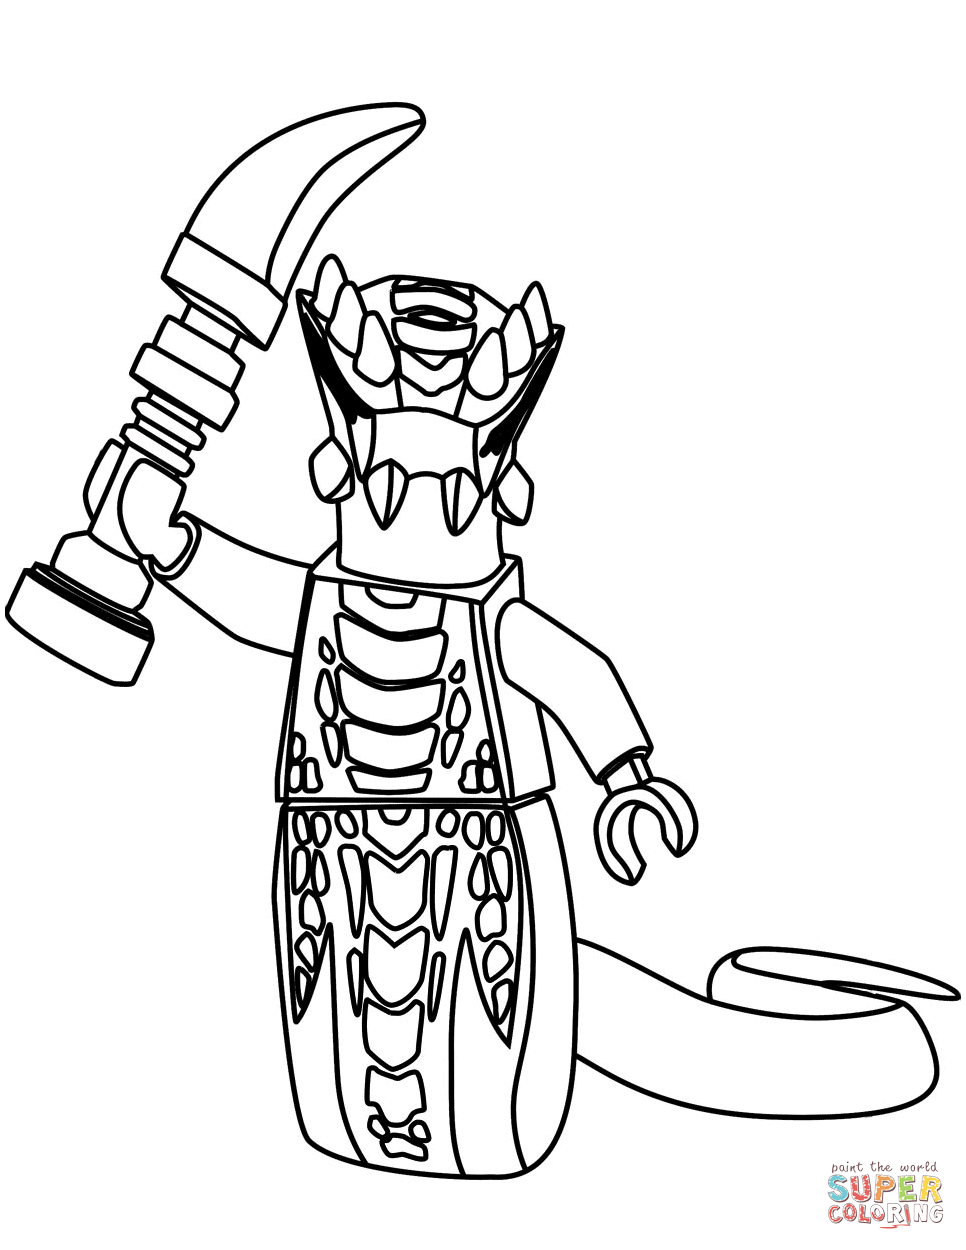
Feb 16, 2016 · Lego Ninjago Pythor Lego Ninjago Lloyd Zx. Categories: Lego Ninjago. Author: Artsashina. Permission: For personal and non-commercial use only. All cartoon, manga and anime … 0
Ninjago Lord Garmadon Coloring Pages at GetColorings.com | Free printable colorings pages to 1
Download and print free Lloyd Garmadon with Element Blades fights to Lord Garmadon coloring pages. Cartoons coloring pages are a fun way for kids of all ages, adults to develop creativity, … 2
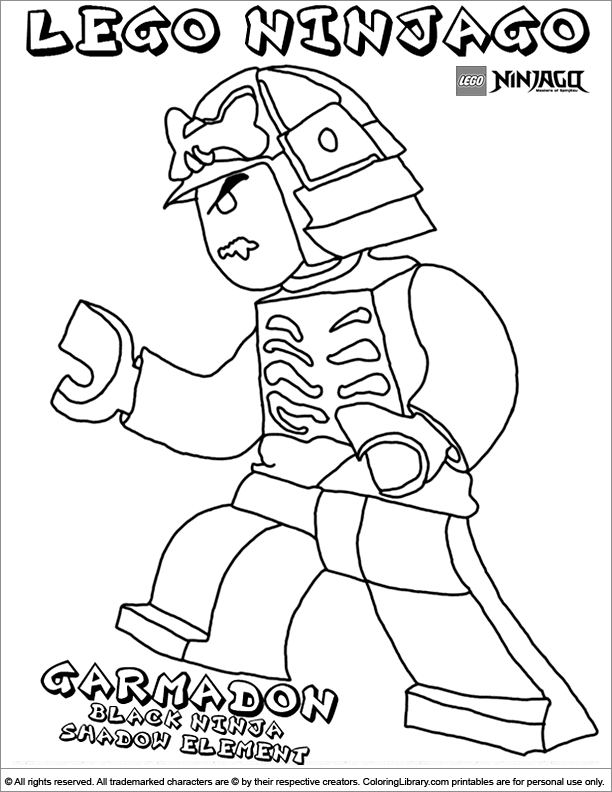
Lord Garmadon has a silver samurai helmet with a bone on it Coloring Pages Color Online Download Print Picture You can Download, Favorites, Color online and Print these Lord … 3
The direct Lego Movie sequel will be arriving in theaters sometime in 2017, but in the meantime Warner Bros. has been working on the production of Ninjago for a September 23, 2016 release. … 4
Print Color Online Download. Informations. Author: Artsashina Added: June 9th, 2022 5

Aug 15, 2017 - This Pin was discovered by Sascha Ellrich. Discover (and save!) your own Pins on Pinterest 6
Ninjago Coloring Pages Lord Garmadon At Cartoons coloring pages are a fun way for kids of all ages, adults to develop creativity, concentration, fine motor skills, and color recognition. Lego … 7

Printable lego ninjago lord garmadon coloring page. This color book was added on 2016 07 23 in lego ninjago coloring page and was printed 1345 times by kids and adults. Lego ninjago lord … 8
Jan 01, 2021 · Lego Ninjago Coloring Pages Lord Garmadon - Select from 35450 printable coloring pages of cartoons animals nature bible and many more. Lego ninjago coloring pages. … 9
Lego Ninjago Ausmalbilder Lord Garmadon | Aiquruguay 10

Ninjago Lord Garmadon Coloring Pages Coloring Pages 11

Coloring page (drawn by me) of Lord Garmadon from Ninjago Masters of Spinjitsu. | Coloring pages 12

Ninjago Coloring Pages Lord Garmadon / 30 Free Printable Lego Ninjago Coloring Pages - He is an 13
Ninjago Lord Garmadon Coloring Pages at GetDrawings | Free download 14
49 Ninjago Lord Garmadon Ausmalbilder - Ausmalbilder / Malvorlagen kostenlos 15
Lego Ninjago Lord Garmadon Coloring Pages Printable 16
Ninjago Lord Garmadon Coloring Pages at GetColorings.com | Free printable colorings pages to 17
Ninjago Lord Garmadon Coloring Pages at GetColorings.com | Free printable colorings pages to 18

lord garmadon coloring page - Yahoo Image Search Results | Cata 19
Ninjago Lord Garmadon Coloring Pages at GetColorings.com | Free printable colorings pages to 20
Lloyd Garmadon Coloring Pages at GetDrawings | Free download 21

Ninjago Lord Garmadon Coloring Pages at GetColorings.com | Free printable colorings pages to 22
Ninjago Coloring Pages Lord Garmadon at GetColorings.com | Free printable colorings pages to 23
Ninjago Lord Garmadon Coloring Pages at GetDrawings | Free download 24
Ninjago Coloring Pages Lord Garmadon at GetColorings.com | Free printable colorings pages to 25
Ninjago Lord Garmadon Coloring Pages at GetColorings.com | Free printable colorings pages to 26
Ninjago Coloring Pages Lord Garmadon at GetColorings.com | Free printable colorings pages to 27
Ninjago Coloring Pages Lord Garmadon at GetColorings.com | Free printable colorings pages to 28
Ninjago Lord Garmadon Coloring Pages at GetColorings.com | Free printable colorings pages to 29

Ninjago Lord Garmadon Coloring | Ninjago coloring pages, Coloring pages, Lego coloring pages 30
Ninjago Lord Garmadon Coloring Pages at GetColorings.com | Free printable colorings pages to 31

Lego Ninjago Lord Garmadon Coloring Pages | divyajanani.org 32
37 Lord Garmadon Ausmalbilder - Besten Bilder von ausmalbilder 33
Death, Lego Ninjago Lord Garmadon Coloring Pages And Taxes: Tips To Avoiding Lego Ninjago Lord 34
hey everyone and welcome to the club, today i'll be showing you how to draw, lord garmadon from ninjago, [Music], let's get started at the top center of, our page with the eye so let's start on, the left side of center with the lower, eyelid start on the outside i'm going to, curve in, and then just pull that down and leave a, small gap in the center and do the same, thing on the right starting from the, inside we're going to curve up, and then just pull that out towards the, outside of the eyebrow now from here we, want to do a short curve coming up and, in, just to create a little point, now we're going to curve back out with, another short line, [Music], let's go back to the inside and draw on, the frown line, from the left side i'm going to curve in, and then up again we want to leave a, little gap in the center go to the right, side curve up and then in, now from the top corner of the eyebrow, i'm going to curve up and then pull that, down towards the inside of the frown, line, [Music], now we're going to tuck the eyes in, underneath the eyebrow so it's a small, circle starting on the left, curve around and then back up we'll do, the same thing on the right side, now we draw a smaller circle just at the, top for a little highlight, [Music], now right in between the eyes below the, eyebrow i'm going to draw a curve, a little wrinkle i'm going to step down, and do that one more time, [Music], now let's move down and draw the top, edge of the mouth so we start directly, below the center of the left eye, we're gonna curve down and it's gonna, pull this up just beside the right eye, let's round up the left side of the, mouth, [Music], come around and in we're gonna come down, and pull that up towards that right, point, now let's layer the top row of teeth, underneath the top of the mouth we're, gonna start on the left side we draw a, fang, start with a v shape, let's go over to the right side and do, the same thing, now in between we're going to add, another row teeth we're going to round, these out starting on the left curve, down and up, we'll do the same thing on the right, and then we'll fill the gap with one, more tooth, [Music], now let's draw the bottom row of teeth, so starting on the left side we're gonna, do an upside down v, we'll go to the right side and do the, same thing now again we're gonna round, out the center teeth and do three teeth, going across, on the inside of the two bottom fangs, we're going to draw a curve for the, tongue start on the left we're going to, curve up, and then back down we're going to fill, the inside of the mouth in black, [Music], let's add a wrinkle around the corners, of the mouth starting on the left side, just on the outside of the mouth we're, going to curve around almost like a, bracket and we're going to go up towards, the right side and do the same thing in, the opposite direction, directly below the mouth of the center, here we're going to draw a curve from, left to right going up in the middle, all right so now that we've drawn the, face let's work our way around the side, of the head we're gonna start on the, left side just above the eyebrow we draw, a curve going up, and then back down on the right side, we're gonna come straight down the side, of the head towards the jaw, i'm going to pull these down to about, the same height as the lower part of the, mouth, now let's connect these two points with, a curve coming down and round out the, chin, and come back up on the right side, in the top center of the forehead i want, to add one more wrinkle starting on the, left side we're going to curve down, and then back up on the right, now let's move up to the top and draw, the large crown on top of the helmet so, in the center we're going to leave a, little gap so we're going to step up and, draw a curve from left to right coming, down and then back up towards the right, now from these ends i want to angle, straight up and out towards the sides, i want to make sure that these are at, the same height on left and right now, from here we're going to curve in and, just pull that down, [Music], now we're going to connect these two, points on the inside with a circle, starting on the left we're going to, curve around towards the bottom, and then we'll pull that back up towards, the right side let's add a small circle, in the center here starting at the top, [Music], and we're gonna draw two lines side by, side at the bottom of the circle one on, the left, and then one on the right, now let's go back down to the top corner, of the head and draw the inside of the, helmet starting from the left side we're, going to angle down, and then out, go to the right side go in the opposite, direction now we're going to angle up, and out with a straight line, [Music], now from the bottom we're going to curve, up and in we're going to aim towards the, bottom corner of the circle, starting on the left we're going to, curve in and start to pull that inwards, now we're going to continue in behind, the crown towards the bottom corner of, that circle now let's do the same thing, on the right i'm going to start at the, top, coming down and out continuing below the, crown, and curve down towards this bottom right, corner, [Music], we're gonna take the inside corner draw, the inside of the helmet going in behind, the head so we're gonna curve up and in, [Music], now on the outside of the helmet just at, the bottom down here we're going to draw, a small half circle, [Music], now at the top of the helmet we're going, to draw the two large plates that come, out so from this crown i'm going to step, down draw an angle line going up and out, towards the left we'll move over to the, right side and do the same thing, i'm going to come down at an angle, [Music], and then we'll pull that in with a, straight angle line towards the side of, the helmet, [Music], now we want to draw some angle lines, going across this panel so we start in, the center, do an angled line so we're splitting, this in half, now we take these two areas and just, split those in half again, let's do the same thing on the right, starting in the center, and then at the top we split this in, half, and then along the bottom, [Music], okay so now that we've got the head, let's work our way down the body we're, going to start with the upper shoulders, first so from the chin we're going to, step down leave a little gap from left, to right you draw a straight line going, all the way across, now we're going to draw the neck in, behind this line so on the left side of, center draw a straight line, and we'll do the same thing on the right, now from here we'll draw the inside edge, of the cloak from the neck we're going, to step out draw a straight line pulling, the pen towards us all the way down, towards the bottom of the cloak too, right about there we'll do the same, thing on the right we're going to step, over from that neckline, straight down, to the same height now we're going to, draw a straight line going along the, bottom edge of the cloak now i want to, make sure that this line goes past the, inside of the shoulder, starting from the inside we're going to, go out, and then on the right, now we're going to connect the outside, of the top line with the bottom with an, angled line so let's start the top, [Music], and then we'll do the same thing on the, right, let's go back up to the top and draw on, the shoulder armor, from this point in the shoulder we're, going to step down to create an overlap, we'll start by going straight out, and then we'll curl up the end, do the same thing on the right stepping, down, going out and then curling up the end, from the end we're going to come down, and then in behind the body so we're, going to taper this line, starting from the outside we'll come, down, and pull that in, now we're going to draw some detail in, the center of the body we'll start from, these two inside corners we're going to, connect it with a curve coming down and, then up we're going to duplicate that, just below it to create a trim, now let's leave a little space and draw, two lines going across one above the, other, [Music], and then again we're going to even leave, another gap here starting on the left, draw two lines across, and then we'll leave another space and, do that one more time, now these two lines are going to make up, the top edge of the belt so we're going, to leave a gap draw two more lines going, across for the bottom edge of the belt, [Music], on the left side between these two, points we're going to draw a straight, line coming down, we'll do the same thing on the right, now in the center here we draw three, small circles we're gonna start with the, one in the center, and draw two more circles on either side, [Music], from the bottom corners of the belt, we're going to draw two angle lines, coming down and in, [Music], and we'll close off the bottom with a, straight line, [Music], now just above this line here we're, going to step up, and draw another line going across, now right below here we're going to add, a band that goes across the two lines, starting on the left we'll go across, leave a small gap and draw another line, going across, [Music], now right below this line we're going to, step down, draw another line going across here and, then from these ends i'm going to angle, down and out towards the bottom corner, of that line, now right in the middle we're going to, leave a small gap on either side we draw, two straight lines coming down towards, the bottom of the feet so from the, center we'll move over towards the left, draw a straight line, coming all the way down towards the, bottom of the foot we'll go over towards, the right and do the same thing, [Music], now let's flatten out the bottom of the, feet from the inside we're going to go, straight across towards the left, and then the same thing on the right, we want to make sure that they're the, same length and we're going to pull this, up underneath the cloak with a straight, line, [Music], at the bottom we're going to draw the, top edge of the foot so we step up draw, a straight line, on either side, from the bottom corner of the cloak, we're going to step up and draw a, straight line that goes all the way, across from left to right, in these open areas there's a series of, little lines that go up and down so we, leave a gap in the center we'll go over, to the left side draw a short line, we'll go over to the right and draw the, same thing now it's going to cap off the, tops and the bottoms with a short little, line, [Music], now let's close off the outside again, with a straight line coming down we take, that and just duplicate it in these two, areas here, [Music], and we do the same thing just below the, belt, [Music], now we're going to add one more on the, outside edge so starting on the left, just on the inside of the cloak, and then on the right, and then we do the same thing all the, way down towards the bottom, [Music], now let's move to the outside and draw, on the arms he's got two sets of arms, we're going to start with the top set, first from the bottom corner of the, shoulder armor occur down, and then just pull that back up towards, the wrist from here we're going to draw, a short angle line going out, now from here we want to taper the arm, so it gets wider as you come back in, towards the body starting from here, we're going to curve, down and pull that in, [Music], let's take that and flip it over on the, right side starting from the bottom, shoulder, down, and we'll pull that up, we're going to angle out the wrist, and then come back in so tapering the, arm, now we're going to draw the second set, so we're going to leave a little gap i'm, going to start down here, curve down, and then out from the outside we want to, come straight down, and then again tapering in behind the, body coming down, and then in let's take that and flip it, over on the right side it's going to, leave a gap, come down, and then back out i want to make sure, that this isn't the same distance as the, one on top, come straight down the wrist, and then curve in behind the body, now going back to the top left we're, going to draw on the hand so it's, basically a circle with an open end on, the top so we're going to start on the, outside, cover i'm going to leave a gap towards, the wrist so we're not touching the, wrist, going all the way around leaving a small, gap so you got this little space down, here, from here we're going to draw two angled, lines coming in behind the wrist, now let's connect these two points with, a curve almost like a smaller circle, going around, now we're gonna take that hand and draw, the same thing just below here we're, gonna leave an open gap on the left side, so we start on the left side here, come around again leaving a gap towards, the wrist, going all the way around we draw two, lines going in behind the wrist from the, hands, now let's connect the inside with, another circle, [Music], now the hands on the right side are, going to look a little bit different, because you're going to be holding the, staff so we're going to leave a little, space from the wrist we draw a straight, line, coming down, it's almost like drawing a d start at, the top curve out, and then back in towards the bottom, we're going to draw on the wrist, so at the top i'm going to angle down, and in and step down again draw that, same line, [Music], now we take that hand step all the way, down and draw the same thing so we're, going to line up the inside edge of the, hand come down now we're going to draw, on the d, [Music], let's draw those two lines for the wrist, stepping down from here, and going down to the bottom with that, same line, now we're going to tuck the staff in, behind these two hands so from the, corner of the hand we'll step in draw a, straight line coming down towards the, bottom hand we step over and draw the, outside of the staff, now we're going to continue these two, lines below this hand towards the bottom, starting on the inside we'll go all the, way down towards the bottom, lined up with the bottom of the feet, do the same thing on the outside, now let's close off the bottom with a, straight line, [Music], now let's draw on the top of the staff, from the inside just above the hand we, draw a short line going up, we'll do the same thing on the outside, now we're going to overlap these two, points with another line going across, let's go up the sides, a short line, and then we'll connect the tops with a, line going across, and draw a small rectangle just above, here we're going to leave a little space, so we're going to step up, draw another line going across, go up with two short lines, and then close off the top with a, straight line, now in this gap i want to fill it with, these two lines here so we're going to, continue, inside, let's add a couple spikes on the outside, of the square from this corner step in, come out, and then back in the same thing on the, right side, [Music], now let's draw the top of the staff, from this corner we're going to step in, through an angle line going up and then, out we'll do the same thing on the right, stepping in, and go up and out to the same height now, we're going to pull this in the opposite, direction but we're going to leave a gap, at the top, starting on the left, go all the way to the top now i'm going, to step over, angle down towards the right now let's, cap off the top with a straight line, we're going to add the end of the staff, up here so from the top corners we'll go, straight up with a short line, cap it off, across the top now we draw a smaller, rectangle on the top here so stepping in, go another short line, and then close it off along the top, in the center of this staff we're going, to draw a circle starting from the top, we'll work our way around, and draw a smaller circle on the inside, so we step down, go all the way around, [Music], now we're going to add the four blades, that come out we'll start the bottom, side here from this point we're going to, step down, angle down and out, do the same thing on the right side, now we're just going to cap off the ends, with a short angle line coming in now, we're going to pull this straight across, towards the inside of the staff, now we're going to add the two larger, blades along the top, from this top corner here we're going to, come down with a longer line angling, down on the left and right now we come, in with a short angled line, now from here we're gonna go straight up, with a short line, and we'll pull this right in with a, straight line going across, now the final thing i want to do is add, the back side of the cloak coming in, behind the arms so we start underneath, the shoulder armor and step out do an, angle line just form that same angle of, the front of the cloak, come down in between the two arms now, down here we're going to curl it out, curling it out i want to make sure that, this point is higher than the inside, i'm going to go straight across, do the same thing on the right stepping, out, on angle line we follow that same angle, line, in between the arms, and at the bottom of this arm i'm going, to come down and just flick it out, come straight across, and behind the front of the cloak and, that's pretty much it there we have it, there's lord garmadon from ninjago i, hope you enjoyed today's lesson make, sure you subscribe and send me your, requests in the comments below thanks, for watching and we'll see you again, soon, [Music], you
Reddit Images 63

Lord Garmadon 0

And Lord Garmadon, General Grievous etc. can do the same 1

I confessed my love to Lord Garmadon using a song lyrics generator and...well: 2

“You bit me once, now feel what it’s like to be bitten back!” - Lord Garmadon (Season 1: Rise of the Snakes) 3

The Villain and Sensei to the Ninjas, Lord Garmadon tierlist 4

Give me opponents for the Sensei and enemy to the Ninjas, Lord Garmadon 5

Lego Lord Garmadon 6

Skeletor vs Lord Garmadon 7

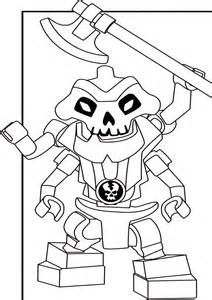
Garmadon, Samukai, and Lords of Doom concept art 8

I’ve been trained in your Jedi arts by Lord Garmadon! 9

Oni Garmadon & Lord Mogra from Garmadon Issues 1-3 (also an improved regular Garmadon) 10

my submission for Imaginary_East5786 contest. EVOLVED lord garmadon from ninjago 11

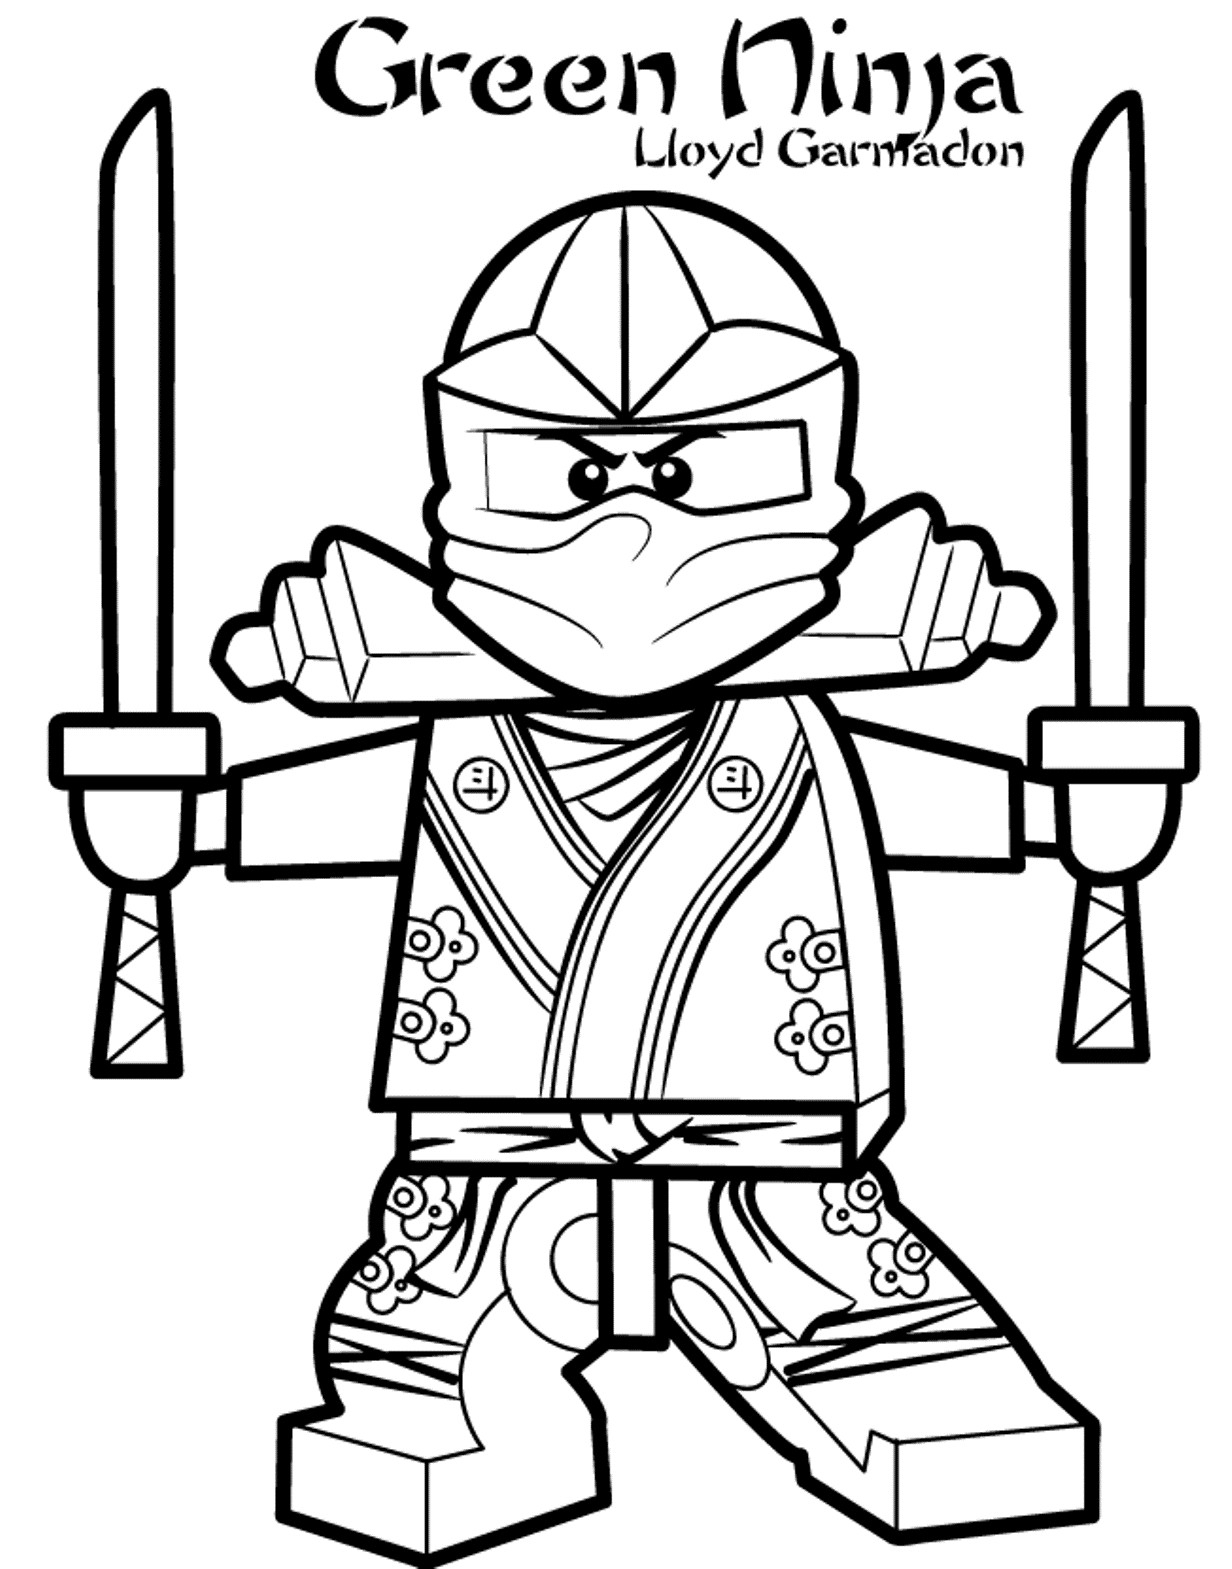
hi guys. since you all liked my post so much yesterday I made some different colors for Lloyd, Every character in smash brothers has 8 colors so I made 8 for lloyd. I made colors for kai, jay, regular lloyd, cole, zane, golden ninja lloyd, lord garmadon, and sensei wu. i hope you guys like it a lot 12

Now I just need to buy Jay and Kai. I would have bought them alongside Lord Garmadon and Zane (previous post) but they're more expensive ATM. Gonna wait til next paycheck 13

Lord Garmadon prepared to summon Wojira 14

LORD EMPEROR | Lord Garmadon vs High Roller (Ninjago vs Hero 108) 15

Lord Garmadon vs Darth Vader (Ninjago vs Star wars) 16

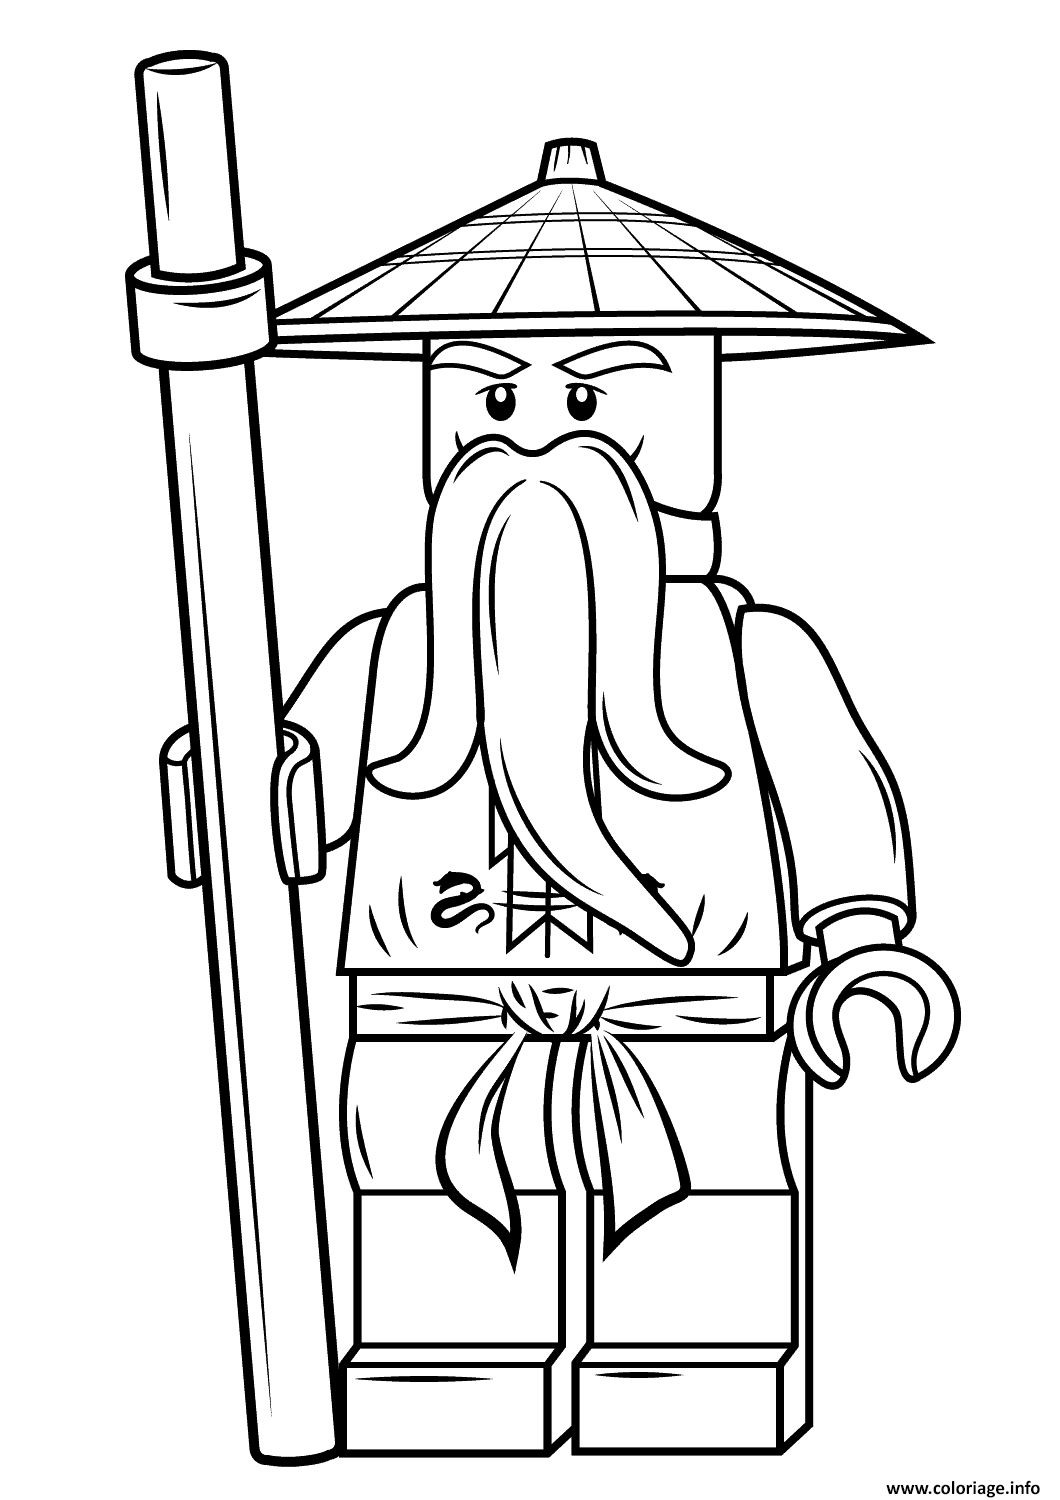
Long before time had a name, The First Spinjiztu master created Ninjago using four elemental weapons. But when he passed, a dark prescence sought out to collect them all, Lord Garmadon. So I, Sensei Wu, his brother, sought out to find four ninja to collect them first. 17
,


Comments
Post a Comment